
How to Change Your Classical Guitar Strings
Fresh strings make your guitar sing. Here’s your step-by-step guide to changing classical guitar strings.
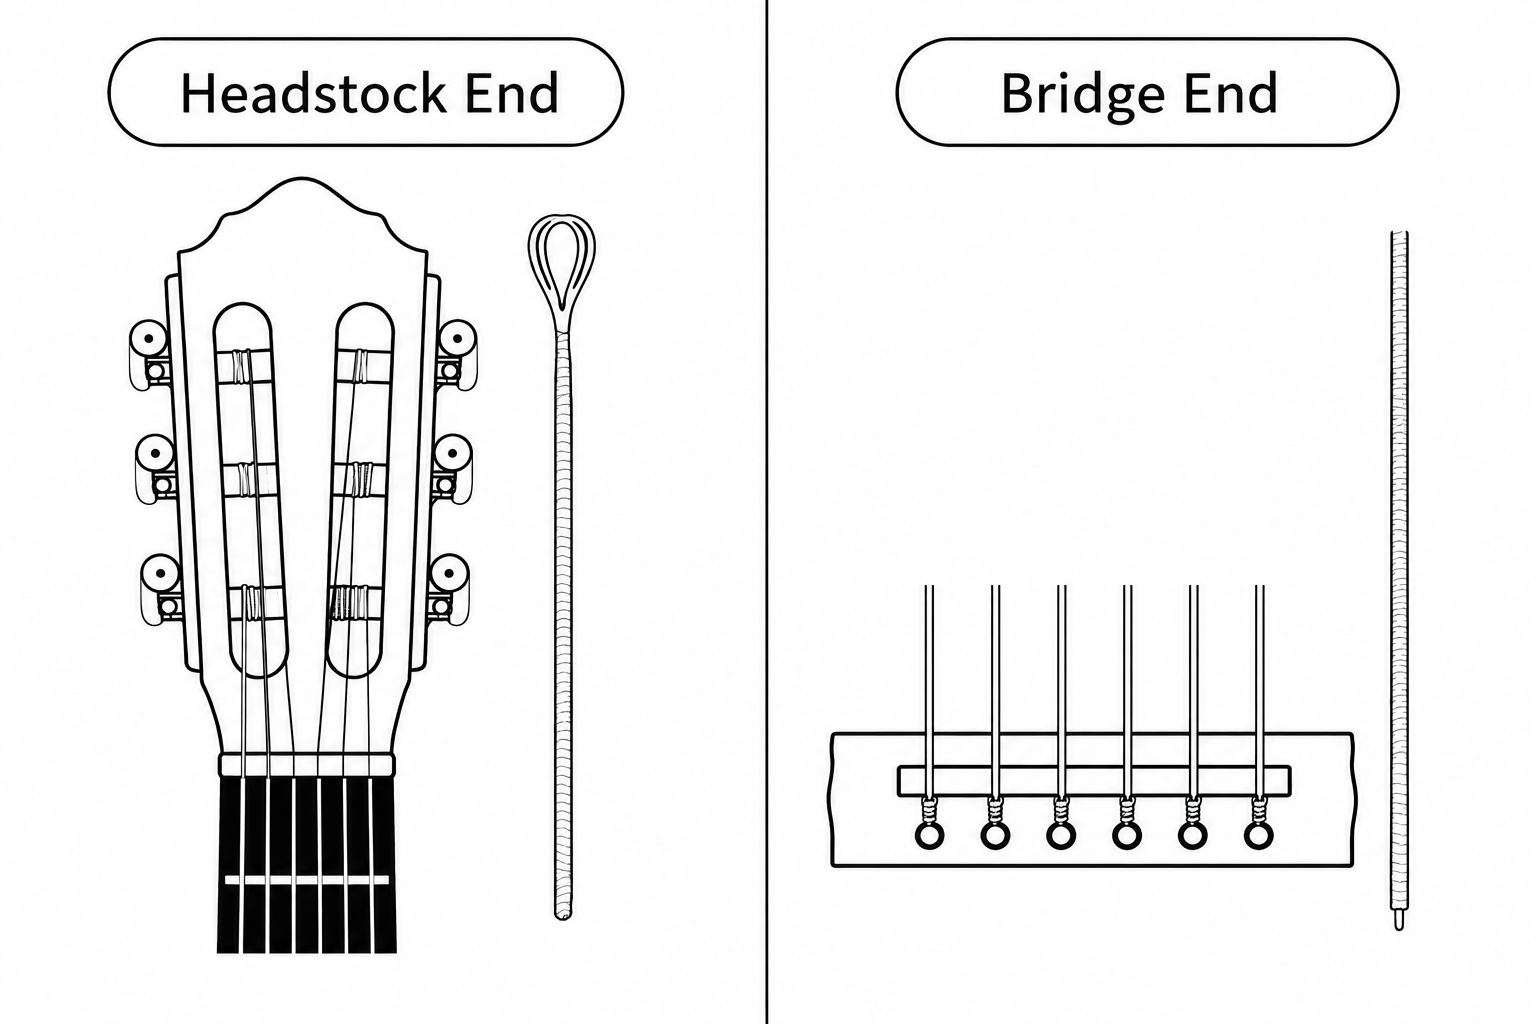

Step Two:
Identify the correct end of each string before installing it. For the treble strings (the plain nylon strings), either end can be used. For the bass strings, look closely for the end with the loose winding and small nylon loop. The loosely wound end is designed to make tying easier at the bridge. However, the loose windings should not cross over the bridge saddle. This can cause premature breakage. For this reason, some guitarists prefer to tie the loose ends around the tuning peg (especially the 4th/D and 5th/A strings). Either way is fine as long as tight windings are over the bridge saddle.
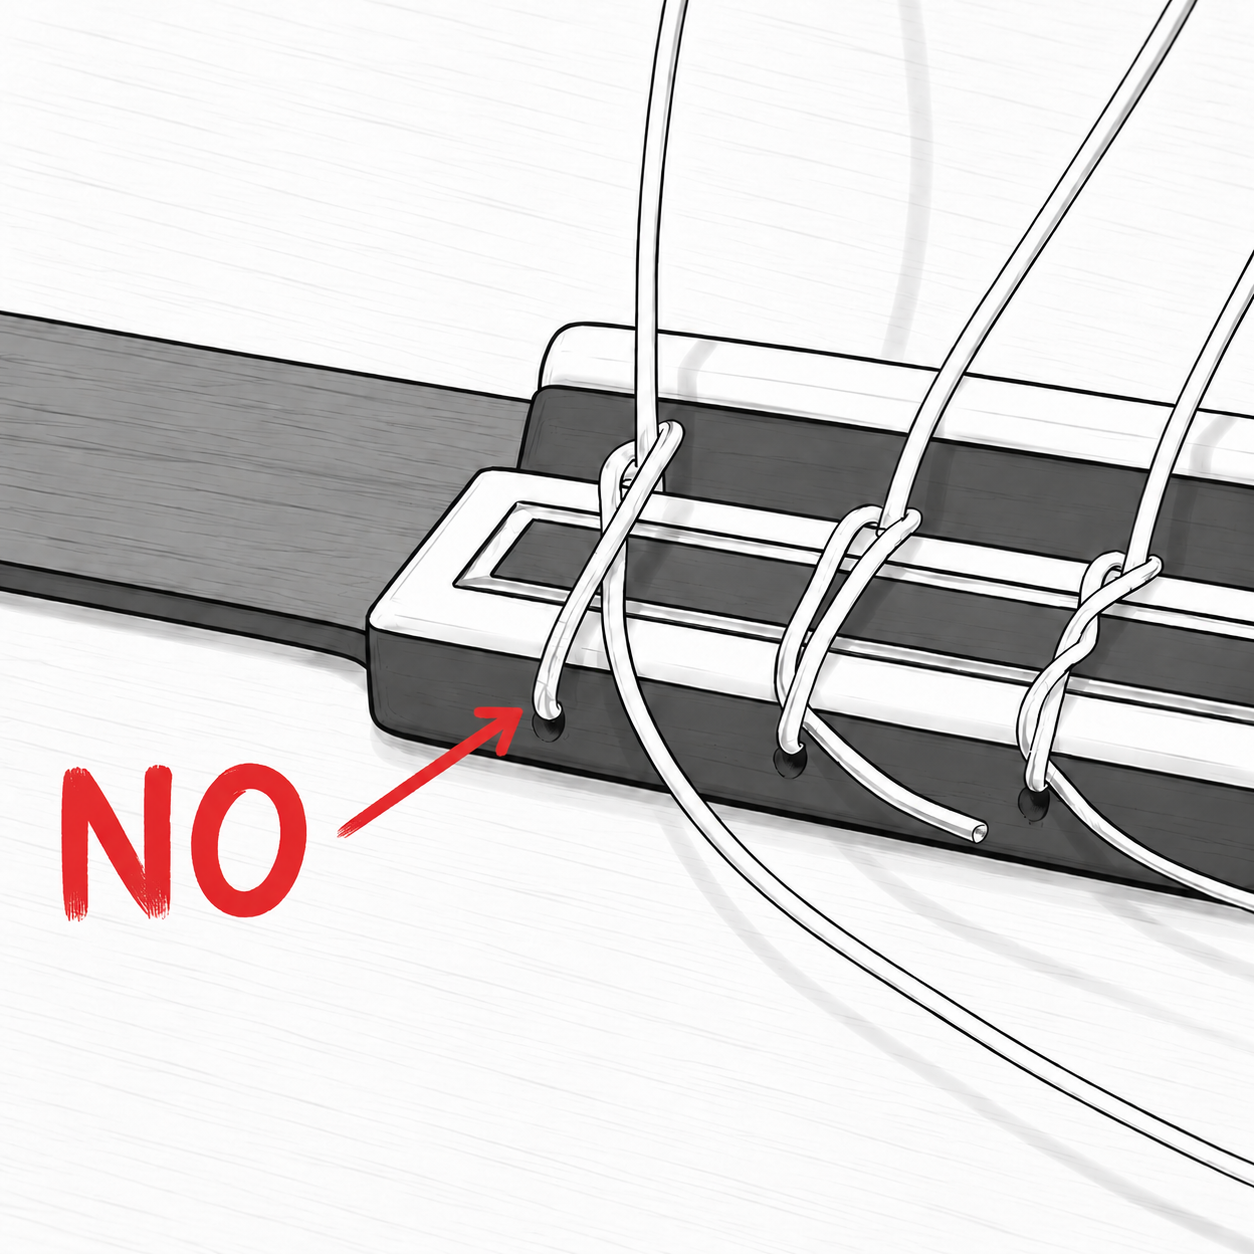
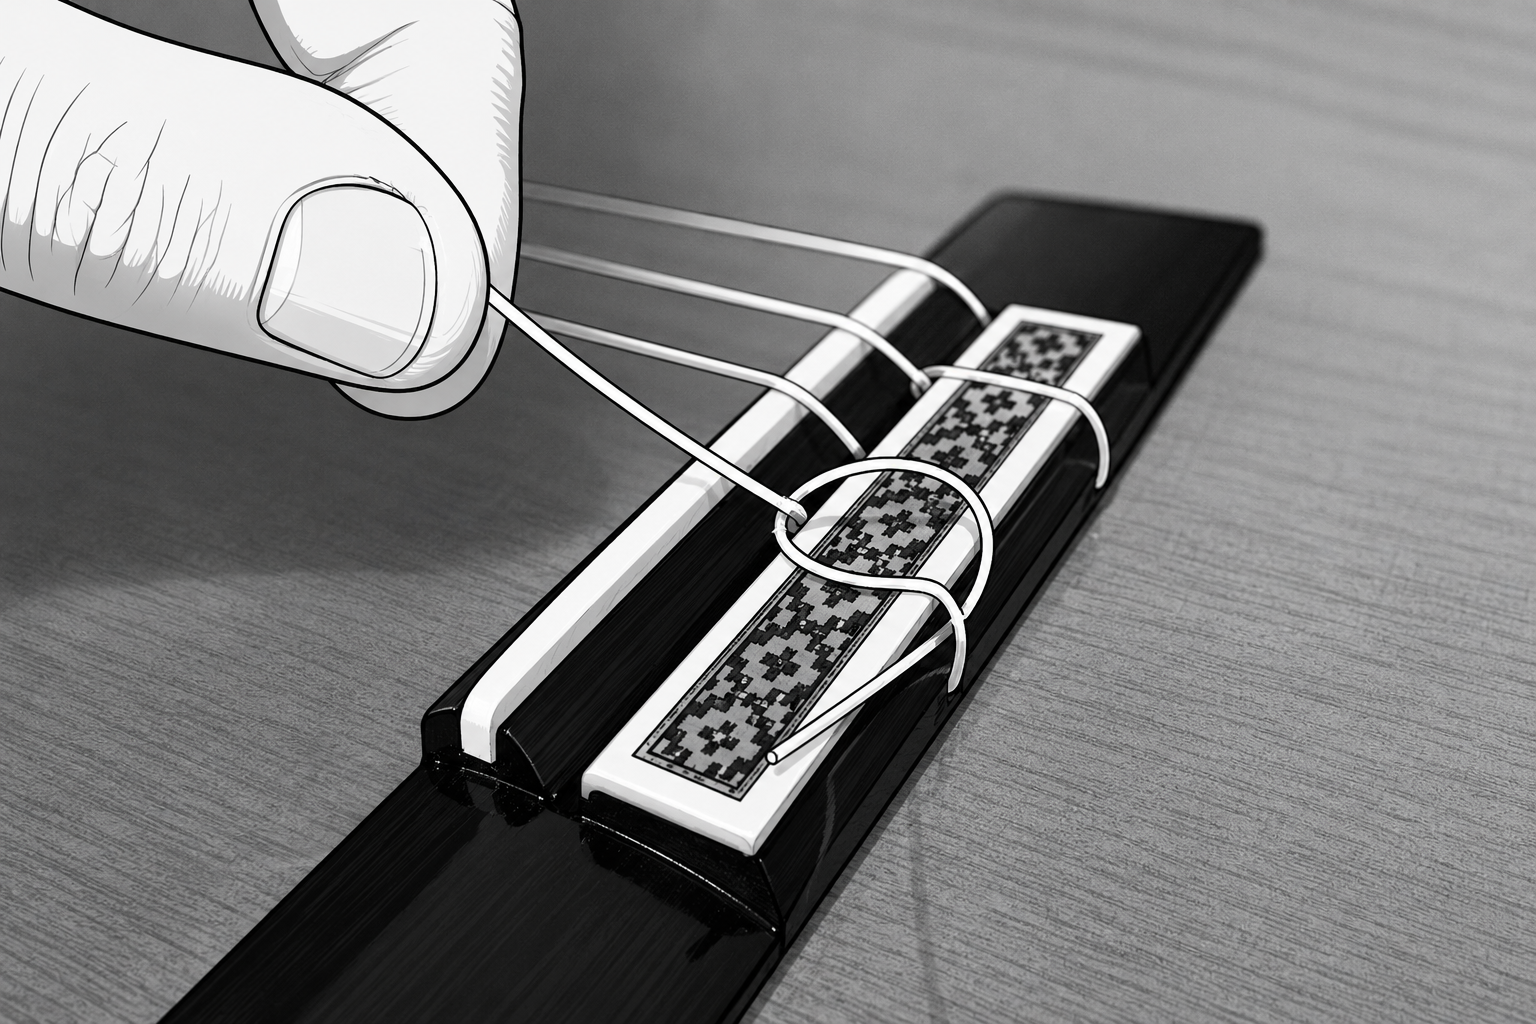
Step Three:
This is the most important step, and the one that often causes problems if done incorrectly. Thread the string through the bridge hole, leaving about 4–5 cm of excess string. Loop the short end back over the main length of the string, then tuck it underneath itself to create a secure knot. For the treble strings (the plain nylon strings), an extra wrap can help keep the knot more secure. Pull the string snug so the knot tightens neatly against the bridge. Once secured, the string should not slip back through the hole.

Step Five:
Work your way across the guitar one string at a time. Many players prefer going in order from 6 to 1, bass to treble, while others choose a different order depending on preference and workflow. Either approach works well, but luthiers and guitar manufacturers often recommend avoiding removing all six strings at once to help maintain stable tension on the instrument.
Changing your strings is one of the most important things you can do for your guitar’s sound and playability. Over time, old strings lose brightness, stability, and responsiveness, making your guitar feel dull and harder to keep in tune. A fresh set of Augustine strings can completely wake up your instrument! The whole process takes about 20–30 minutes, and once you’ve done it once, it quickly becomes part of the routine.
What you need:
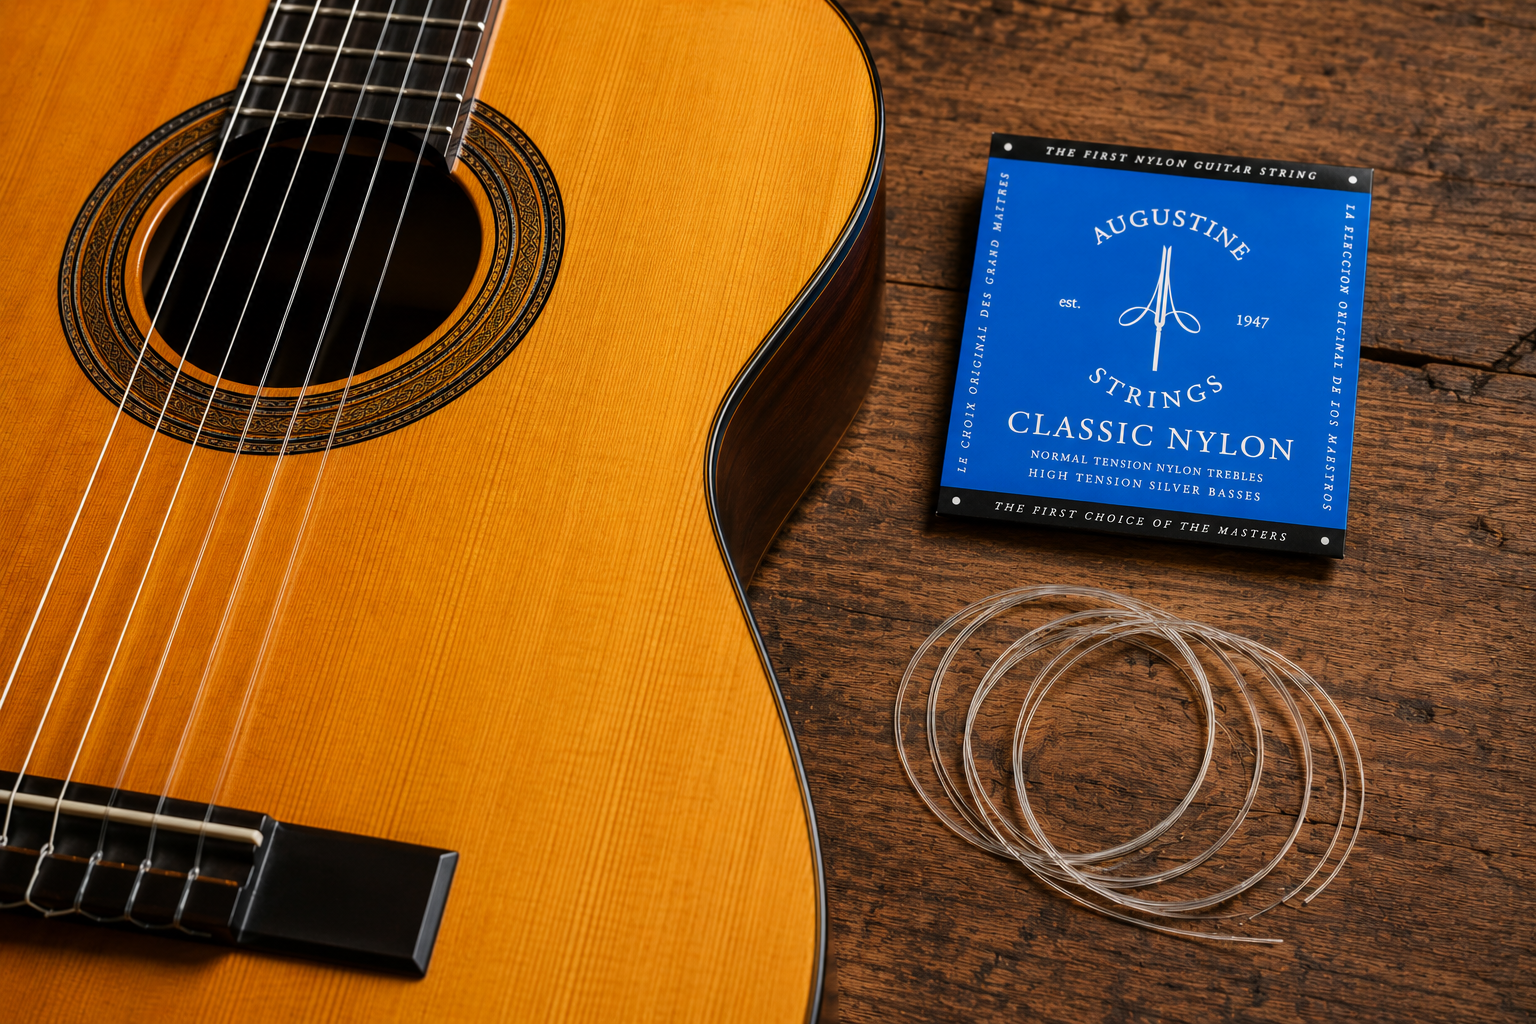
New strings — pick your favorite Augustine Strings set
String winder— not essential, but your wrist will thank you
Wire cutter — for trimming the ends cleanly
A tuner— clip-on, or phone app all work fine

Step-by-step guide
Step One:
Turn the tuning peg to loosen the string until it becomes completely slack. Unwind it from the tuning roller, then gently remove it from the bridge. Take your time here. If you cut or break the string before it it is fully slack, it can snap and damage your guitar's finish.
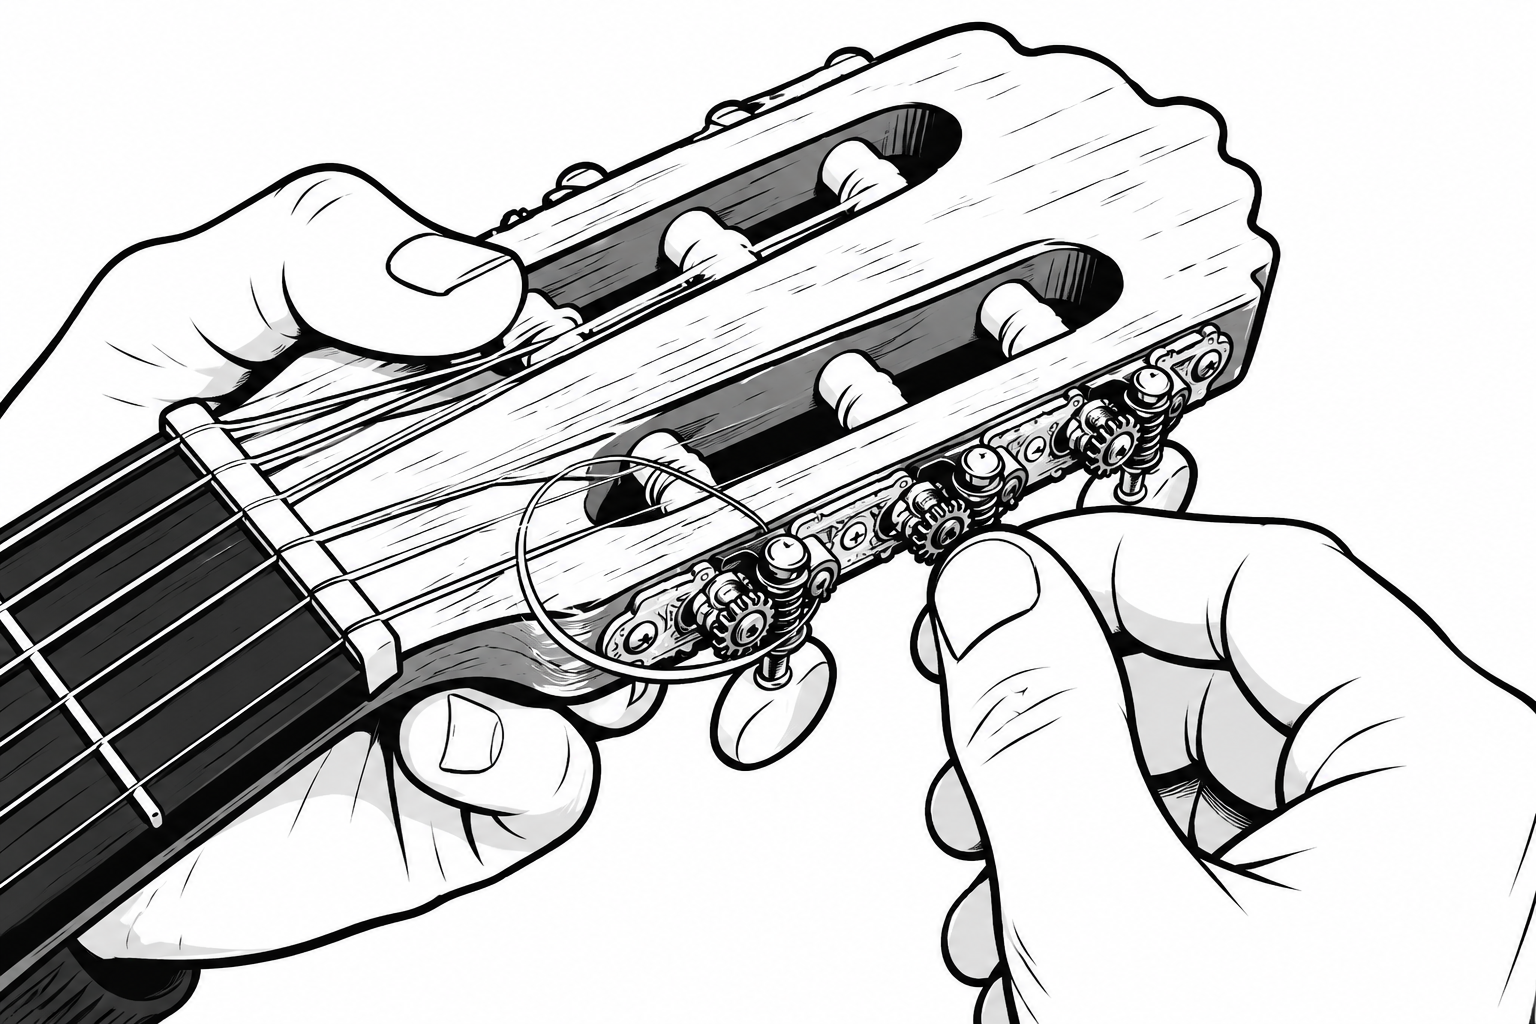
Step Four:
Run the string up the neck and thread it through the hole in the tuning roller. Pull it through, leaving a few centimeters of slack so the string can wrap neatly around the peg two or three times. Before winding, bend the short end back over the main length of the string to help lock it in place and prevent slipping. You can also gently pull the string by hand before winding to remove some initial slack and help it settle more quickly.
Step Six:
Tune and enjoy playing on your fresh strings. Congrats, you did it!
Now that you’re a pro at changing your strings, tune in to an episode of Wind Up to keep you company the next time you restring your guitar.
FAQ
Q: My string keeps slipping at the bridge — what am I doing wrong?
Treble strings (1/E, 2/B, 3/G) need at least two passes under themselves to hold securely. Make sure the short tail is pointing toward the soundhole, and give the knot a firm tug before you start winding to lock it in place. Also, make sure that the final point where the string tucks under itself is on the back of the bridge, not on the face of the bridge.
Q: My strings won’t stay in tune, is something wrong?
Almost certainly not. Nylon strings naturally need a break-in period of a day or two. Keep gently stretching and retuning during this time. If the issue continues after 48 hours, check that the tuning peg screws are snug.
Q: How often should I change my strings?
For regular players, every 4–6 weeks. For occasional players, every 3–4 months. If your strings look discolored, feel rough, or no longer sound bright, it’s time for a fresh set.